

We work with a few companies that are making devices to help bring safe drinking water to low-resource communities where it is otherwise hard to come by. We mentioned Cascade Designs in an article posted a while back, and the Chlorine Maker they have created, which quickly creates chlorine from salt, water and electricity with the push of a button. Children in developed countries may not realize the challenges of finding safe drinking water in other countries, so today, we’re going to do an experiment on safe drinking water.
Materials
- Sterile cups or jars
- Water samples
- Residual Chlorine 0-5ppm test strips
- Aquarium 5-way test strips
- Lab Notebook
Instructions
The first step is to collect your water samples using sterile cups or jars. Start by asking your kids where they would get their drinking water from. They’ll most likely answer tap water, bottled water, or purified water.
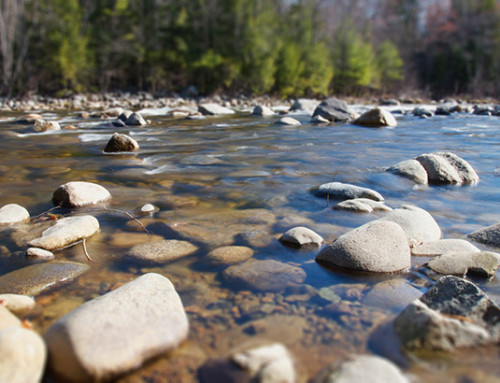
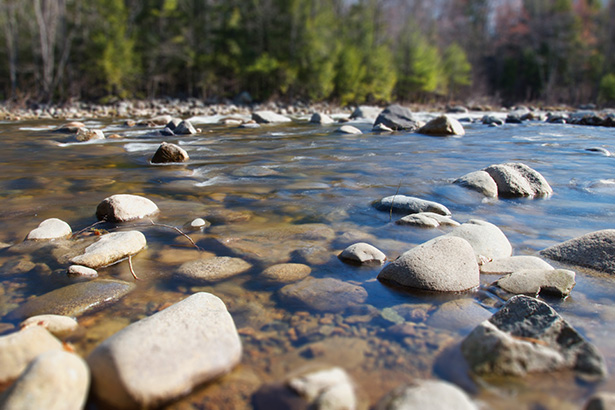
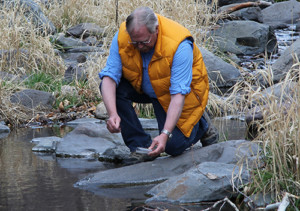 Challenge them to think outside the box and imagine that these standard sources are out of water. Where else could they get water? Suggestions could include lakes, streams, rivers, creeks, rain barrels, etc. Once they have come up with a few other water sources, head out and collect your water samples.
Once you have collected all your samples, label each cup or jar with the sample source. Then, observe the appearance of each one. Are some more cloudy or a different color then others? Do some have objects or floaters in them? Did some sources have living plant or animal life in them when you collected the sample? Have your kids record their observations in their lab notebook.
Next, you’ll need your test strips. Test strips can only be used once, so you’ll need a new strip for each different water sample. First, check to see if there is any residual chlorine in any of the samples. Natural sources, such as lakes or rivers, aren’t likely to have any chlorine. You may register a very small amount of chlorine from the tap or bottled water. Record the results, then think through what it means.
The EPA requires treated tap water to have a detectable level of chlorine to help prevent contamination, and they allow chlorine levels up to 4ppm. If chlorine levels are too high, they can make you sick. If there is no chlorine present, and the water has not been treated to prevent contamination, you can get sick from bacteria. So, based on the results of the chlorine test strips, which water samples are safe to drink?
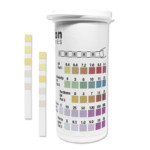 Next, use your 5-way aquarium test strips in each water sample. These will give you results on 5 important parameters: pH, alkalinity, water hardness, nitrate and nitrite. Although these are primarily used for testing aquarium water, they’ll work for the purposes of this experiment. Again, record the results, then think through what they mean.
Safe drinking water has a neutral pH of about 7. If pH is too acidic or alkaline, it can be harmful and will not taste good. Water containing calcium carbonate at concentrations below 60 mg/l is generally considered as soft; 60–120 mg/l, moderately hard; 120–180 mg/l, hard; and more than 180 mg/l, very hard. Natural sources of water will not be adjusted for hardness and can vary greatly by location across the United States.
Alkalinity is the measure of the capacity of water to neutralize acids, and can help keep water’s pH stabilized. Strong alkaline water can have a “soda” taste. Baking soda is alkaline, so this makes sense, right?
The EPA has also set limits of 10 mg/L for nitrate 1 mg/L for nitrite levels in drinking water. In natural sources, nitrate and nitrite levels might be higher as they come from fertilizer runoff, leakage from septic tanks, sewage, and erosion of natural deposits.
Once you have tested each water sample and reviewed what the results might mean, it’s time to draw conclusions. Were you surprised by any of the results? Are any of the results a factor of where you live? Which water would you drink? Is it safe to drink some of the water samples you collected from natural sources? Why or why not? Why is safe water so important?
To take this activity a step further, explore water samples under a microscope on slides to see if you can find anything living or any particles in your water samples.

Leave A Comment